
#2023年10月9日更新
- 增加IPV6设置
UDP限速
三大运营商对UDP的阻断&限速肯定是存在的,至少有QoS限制,刚开始还以为南方联通比较宽容,没想都是一丘之貉,我遇见的是阻断,具体表现为“连续下载或跑大流量3分钟左右,就直接阻断,大概再过几分钟又恢复连接“,这些限制一般只是单个端口。本篇博文就来说说如何设置 Hysteria2 端口跳跃,以对抗运营商的阻断和限速。
搭建 Hysteria 2
关于 Hysteria2 节点的搭建,可以参考上一期《Hysteria2 & VLESS-gRPC-uTLS-REALITY 对比测试》
配合 Iptables 实现端口跳跃
按照 Hysteria 官网的说法,Hysteria 服务端并不能同时监听多个端口,因此不能在服务器端使用上面的格式作为监听地址。建议配合 iptables 的 DNAT 将端口转发到服务器的监听端口。 [来源]
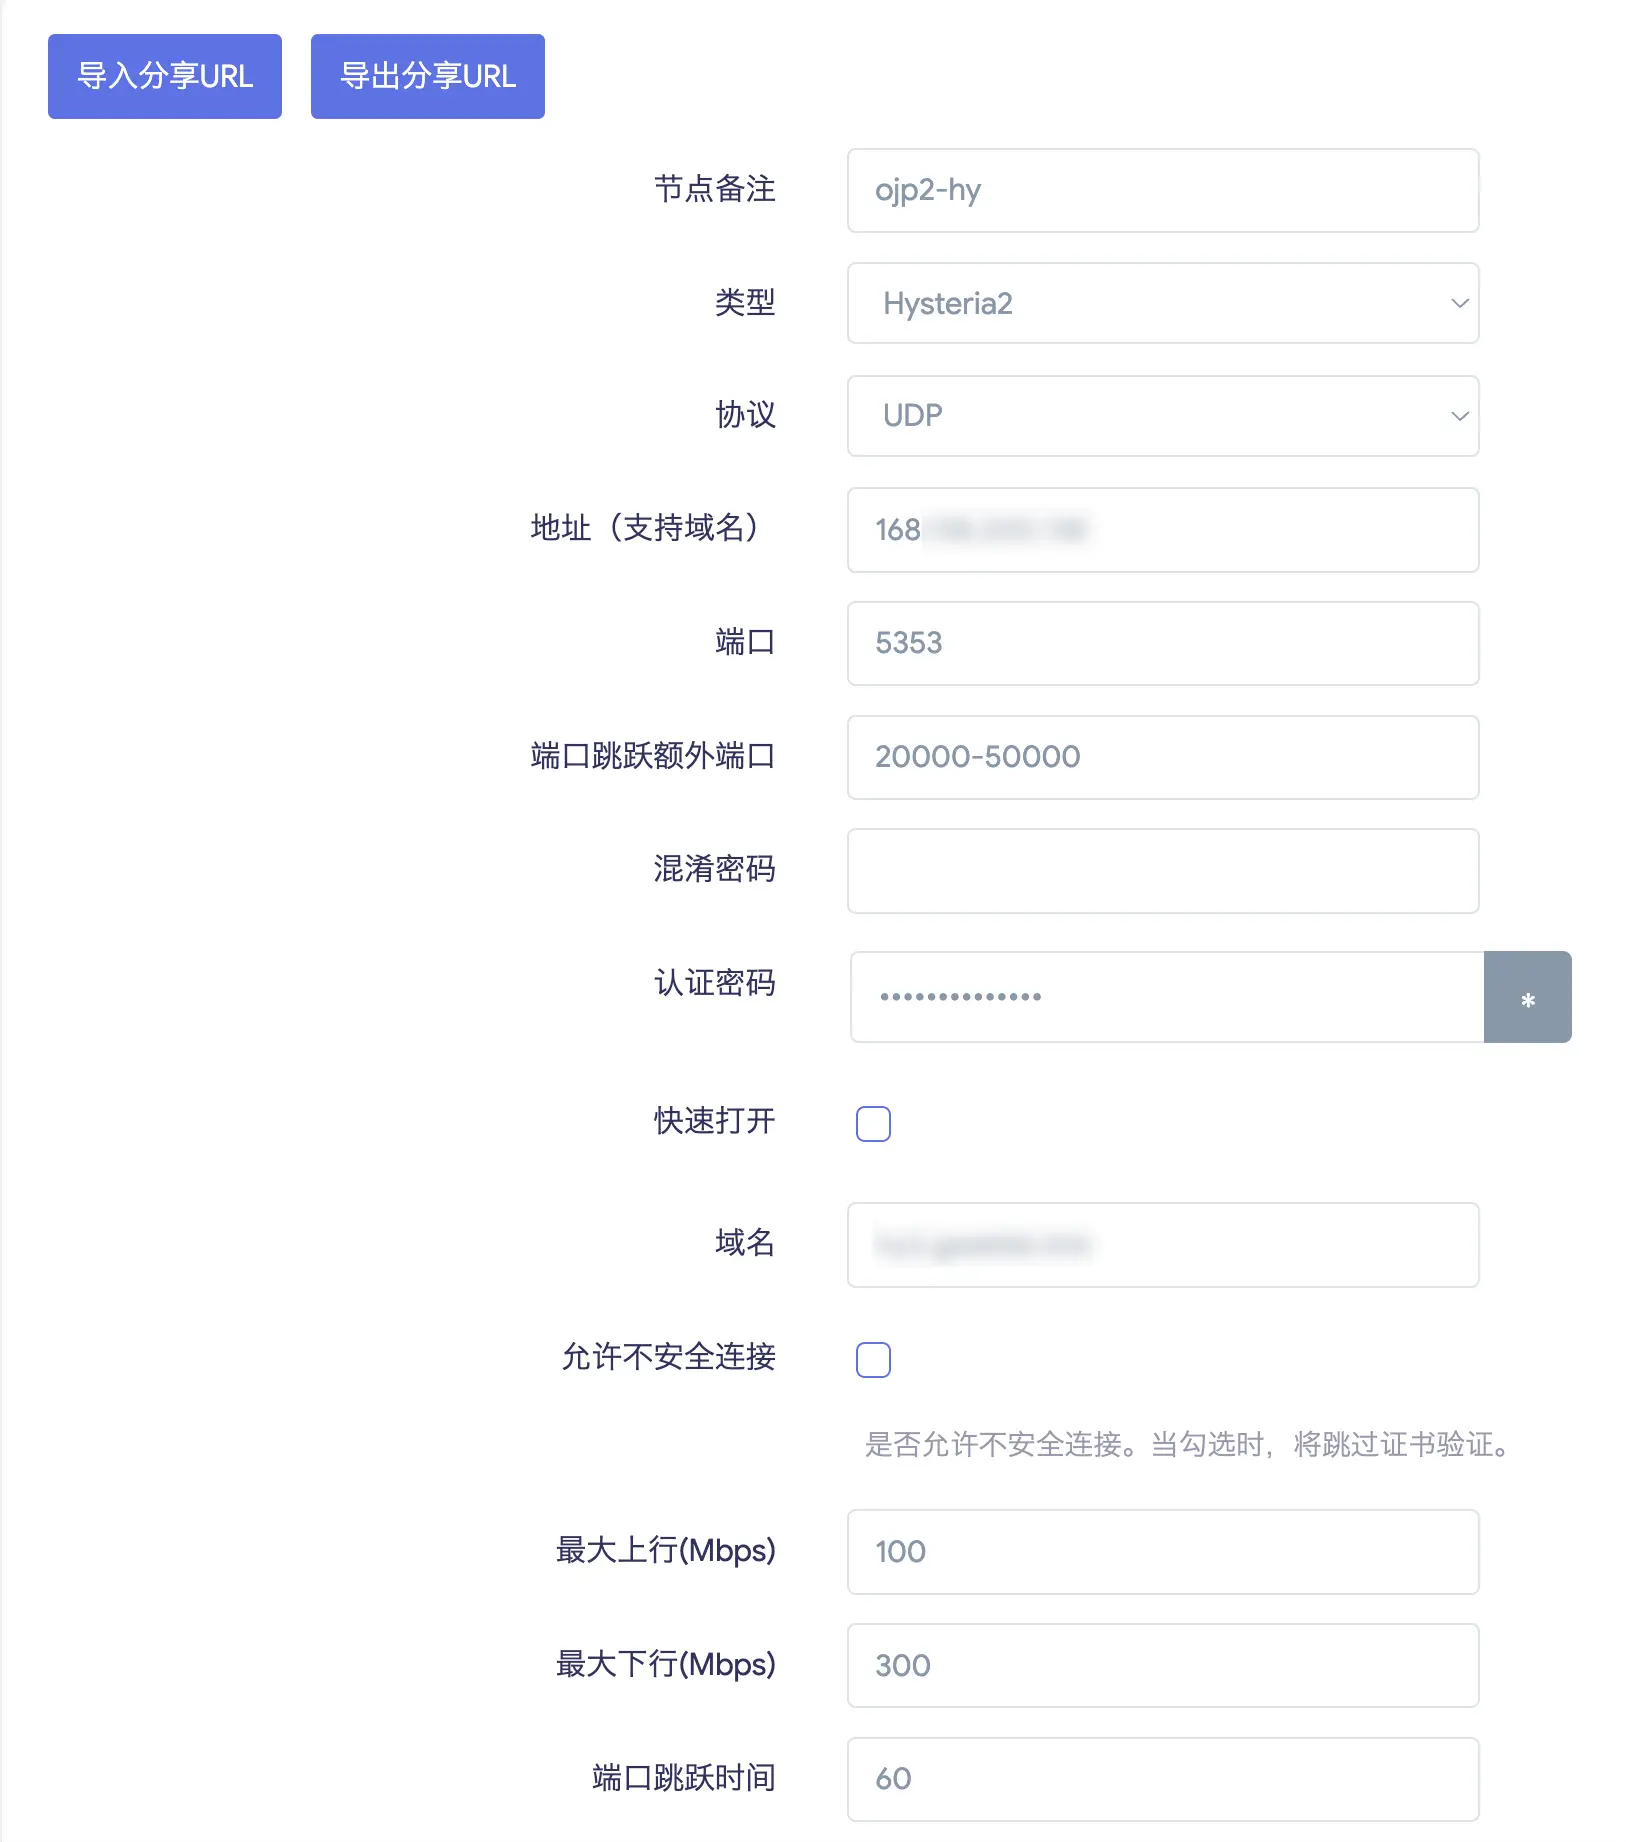
下面就以我的 Hysteria 2 来演示:端口5353 端口跳跃20000-50000
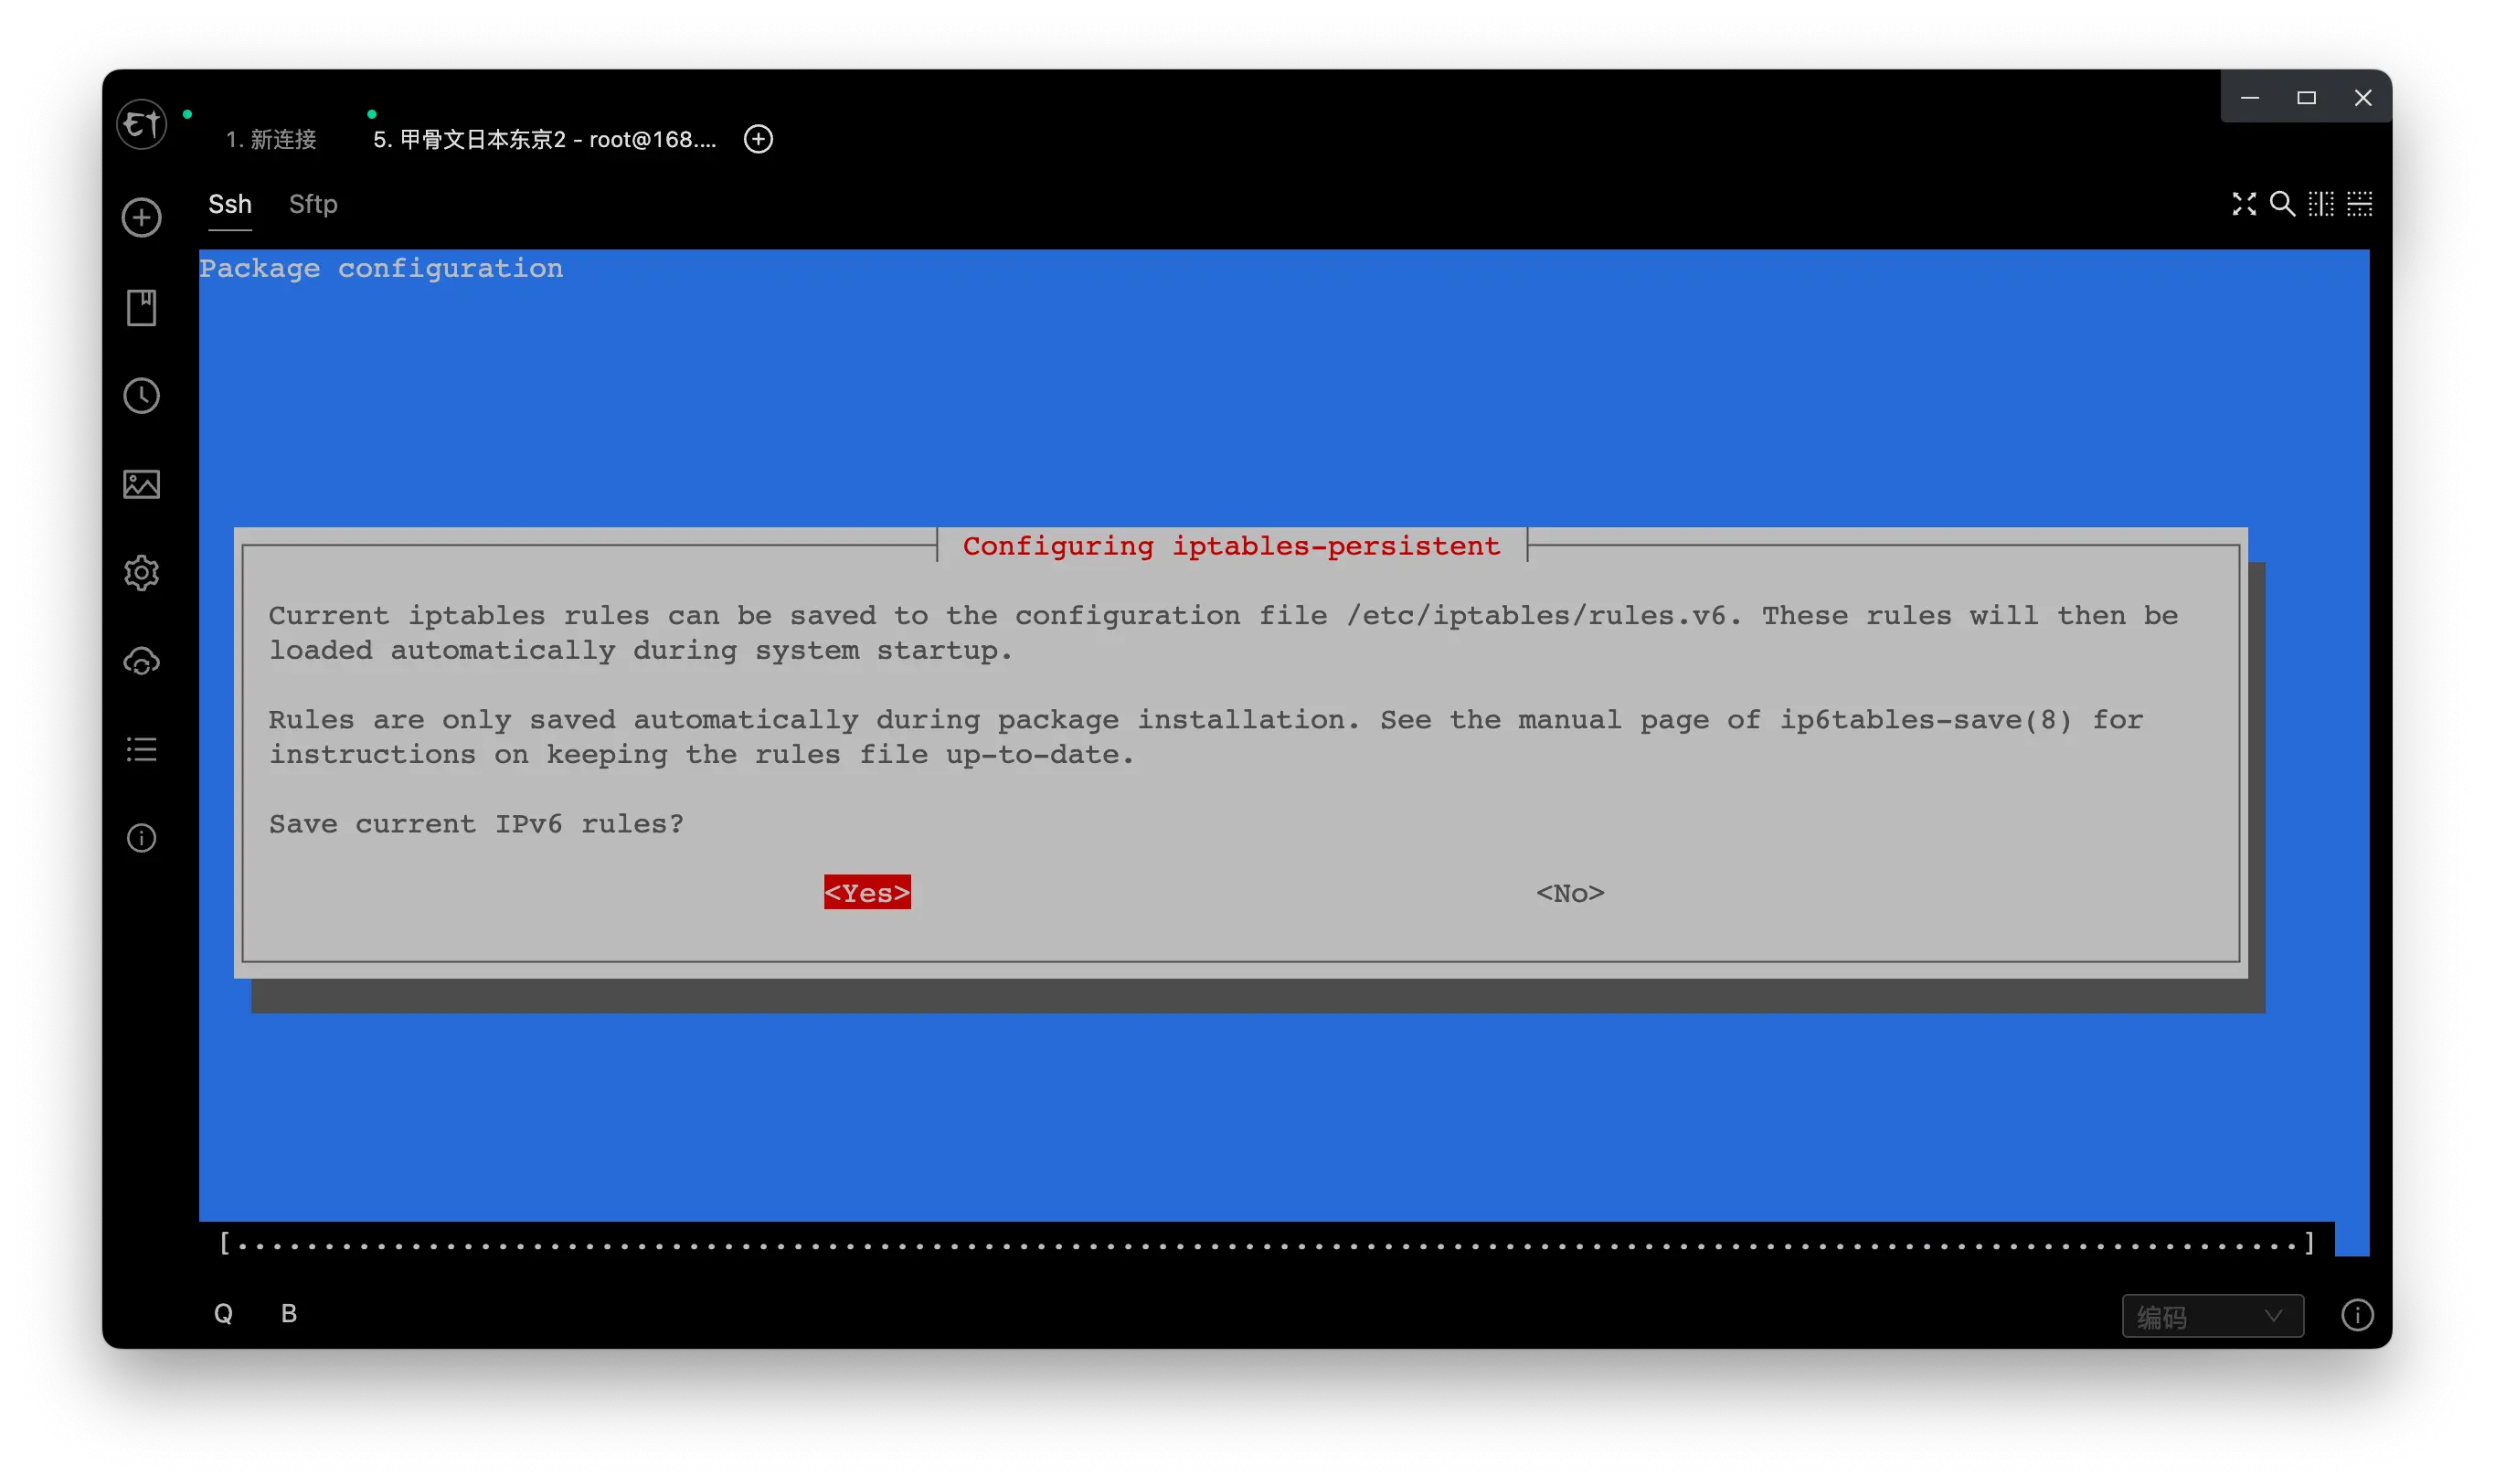
安装iptables-persistent
apt install iptables-persistent
一直YES&ENTER
IPV4设置
清空默认规则&自定义规则
iptables -F
iptables -X
允许本地访问
iptables -A INPUT -i lo -j ACCEPT
开放 SSH 端口 (默认22)
iptables -A INPUT -p tcp --dport 22 -j ACCEPT
开放 HTTP / HTTPS 端口
iptables -A INPUT -p tcp --dport 80 -j ACCEPT
iptables -A INPUT -p tcp --dport 443 -j ACCEPT
开放 UDP 端口(5353替换为自己 Hysteria 的监听端口)
iptables -A INPUT -p udp --dport 5353 -j ACCEPT
开放 UDP 端口跳跃范围(端口范围为20000-50000)
iptables -A INPUT -p udp --dport 20000:50000 -j ACCEPT
允许接受本机请求之后的返回数据
iptables -A INPUT -m state --state RELATED,ESTABLISHED -j ACCEPT
其他入站一律禁止
iptables -P INPUT DROP
允许所有出站
iptables -P OUTPUT ACCEPT
查看开放的端口
iptables -L
添加NAT规则 [建议参考]
将匹配到的UDP数据包的目标端口在20000到50000之间的数据包,重定向到本地服务器的5353端口
iptables -t nat -A PREROUTING -p udp --dport 20000:50000 -j DNAT --to-destination :5353
查看NAT规则
iptables -t nat -nL --line

IPV6设置
清空默认规则&自定义规则
ip6tables -F
ip6tables -X
允许本地访问
ip6tables -A INPUT -i lo -j ACCEPT
开放 SSH 端口 (默认22)
ip6tables -A INPUT -p tcp --dport 22 -j ACCEPT
开放 HTTP / HTTPS 端口
ip6tables -A INPUT -p tcp --dport 80 -j ACCEPT
ip6tables -A INPUT -p tcp --dport 443 -j ACCEPT
开放 UDP 端口(5353替换为自己 Hysteria 的监听端口)
ip6tables -A INPUT -p udp --dport 5353 -j ACCEPT
开放 UDP 端口跳跃范围(端口范围为20000-50000)
ip6tables -A INPUT -p udp --dport 20000:50000 -j ACCEPT
允许接受本机请求之后的返回数据
ip6tables -A INPUT -m state --state RELATED,ESTABLISHED -j ACCEPT
其他入站一律禁止
ip6tables -P INPUT DROP
允许所有出站
ip6tables -P OUTPUT ACCEPT
查看开放的端口
ip6tables -L
添加NAT规则 [建议参考]
将匹配到的UDP数据包的目标端口在20000到50000之间的数据包,重定向到本地服务器的5353端口
ip6tables -t nat -A PREROUTING -p udp --dport 20000:50000 -j DNAT --to-destination :5353
查看NAT规则
ip6tables -t nat -nL --line
保存iptables规则
netfilter-persistent save
如果你填写错误,可以使用以下命令删除iptables规则
删除iptables规则
删除指定的NAT规则:
iptables -t nat -D PREROUTING <行号>
删除所有NAT规则:
iptables -t nat -F
# 删除所有规则
sudo ip6tables -F

# 删除 INPUT 链中的所有规则
sudo ip6tables -F INPUT

# 删除 INPUT 链中的第一个规则
sudo ip6tables -D INPUT 1

# 禁用 INPUT 链中的第一个规则
sudo ip6tables -I INPUT 1 -j DROP
服务器配置文件
自备域名版
cat << EOF > /etc/hysteria/config.yaml
listen: :5353 #监听端口

#使用CA证书
acme:
  domains:
    - www.igeekbb.com #你的域名,需要先解析到服务器ip
  email: [email protected]

#使用自签证书
#tls:
#  cert: /etc/hysteria/server.crt
#  key: /etc/hysteria/server.key

auth:
  type: password
  password: 123456 #设置认证密码

masquerade:
  type: proxy
  proxy:
    url: https://bing.com #伪装网址
    rewriteHost: true
EOF
无域名自签版
生成自签证书
openssl req -x509 -nodes -newkey ec:<(openssl ecparam -name prime256v1) -keyout /etc/hysteria/server.key -out /etc/hysteria/server.crt -subj "/CN=bing.com" -days 36500 && sudo chown hysteria /etc/hysteria/server.key && sudo chown hysteria /etc/hysteria/server.crt
cat << EOF > /etc/hysteria/config.yaml
listen: :5353 #监听端口

#使用CA证书
#acme:
#  domains:
#    - www.igeekbb.com #你的域名,需要先解析到服务器ip
#  email: [email protected]

#使用自签证书
tls:
  cert: /etc/hysteria/server.crt
  key: /etc/hysteria/server.key

auth:
  type: password
  password: 123456 #设置认证密码

masquerade:
  type: proxy
  proxy:
    url: https://bing.com #伪装网址
    rewriteHost: true
EOF
这里展示PassWall客户端的填法
以下是Iptables卸载步骤
卸载 Iptables
1、停止iptables 服务
sudo systemctl stop iptables
2、禁用 iptables 服务
sudo systemctl disable iptables
3、卸载 iptables 软件包
Debian系统
sudo apt-get remove iptables
CentOS系统
sudo yum remove iptables
4、删除iptables配置文件&规则
sudo rm -r /etc/iptables/
sudo iptables -F
sudo iptables -X
资料参考: https://github.com/TinrLin/sing-box_-tutorial/tree/main/Hysteria2
Drag and drop your files here
Loading comments...
Source