
xingli·a year ago
linux系统使用搜狗输入法
下载此仓库
git clone https://github.com/fkxxyz/ssfconv.git
cd ssfconv
安装库
建议使用python3.7
pip install pycrypto
pip install numpy
pip install pillow
注意
如果你的python版本是3.10以上
请运行下面的pip命令 未测试
pip install pycryptodome
pip install Pillow
pip install numpy
下载皮肤
先从搜狗输入法的皮肤官网下载自己喜欢的皮肤,得到ssf格式的文件,例如 charge.ssf
转换皮肤
./ssfconv -t fcitx5 charge.ssf charge
如果转换成功,则终端不会有报错信息,如果出现了
raceback (most recent call last):
File "./ssfconv", line 1211, in <module>
exit(main(args))
File "./ssfconv", line 1183, in main
result = ssf2fcitx5(skin_dir)
File "./ssfconv", line 827, in ssf2fcitx5
back_color = findBackgroundColor()
File "./ssfconv", line 813, in findBackgroundColor
-int(v[2])))
File "./ssfconv", line 116, in getImageAvg
if a.shape[2] == 4:
IndexError: tuple index out of range
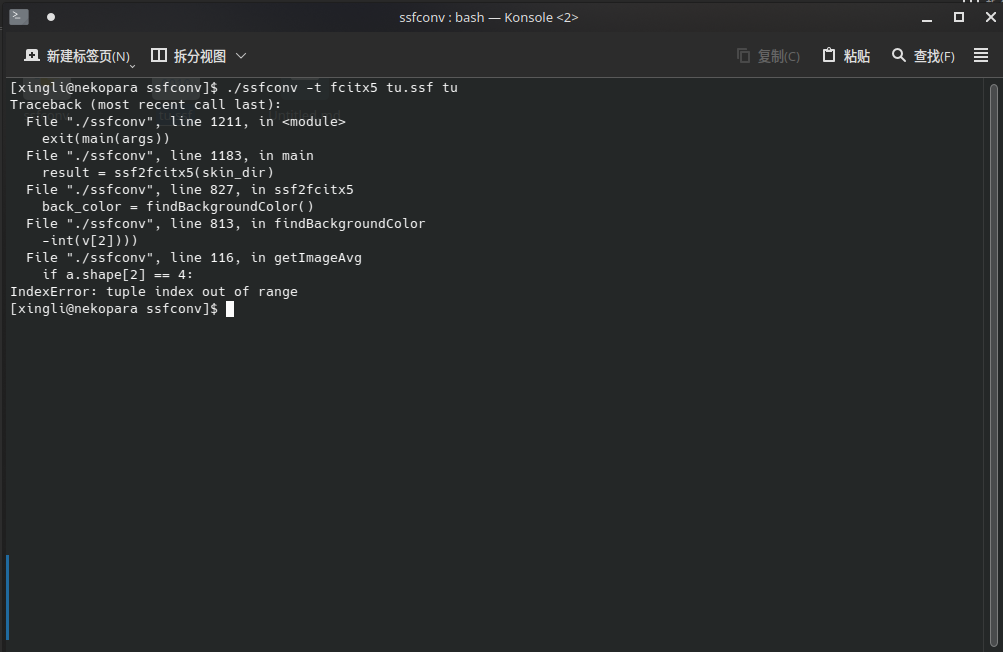 类似这种错误,则文件转换失败,这种一般是搜狗输入法皮肤不符合规范导致的,生成的文件无法使用,
 生成的内容缺少了关键的theme.config文件,无法被fcitx5输入法识别。
正常生成的例子:
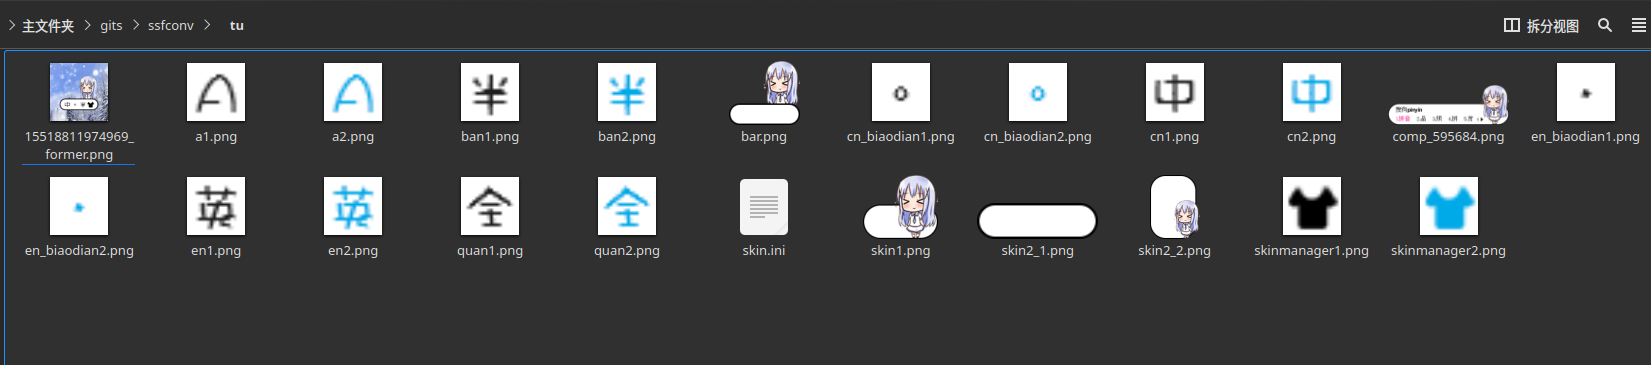
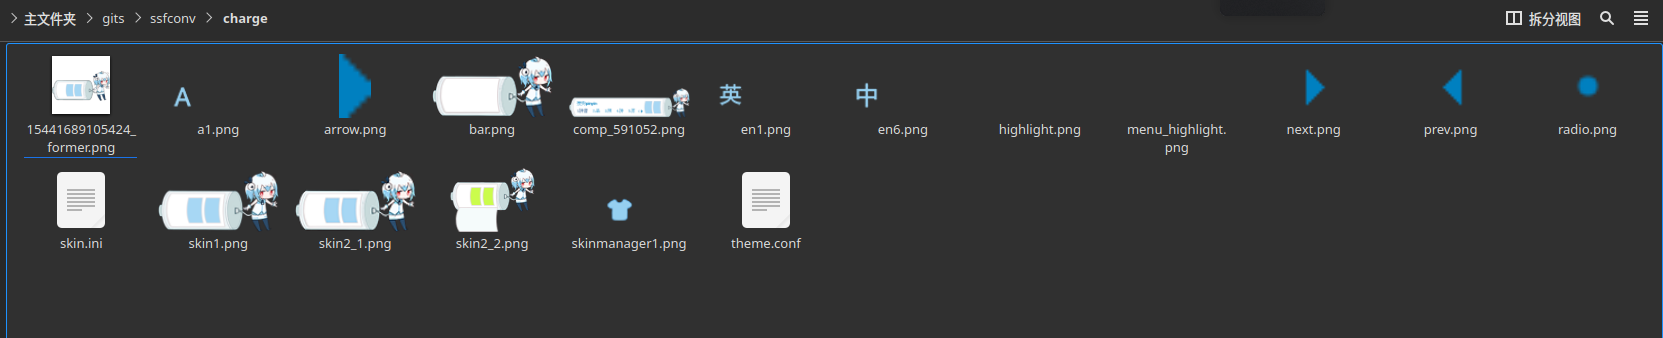
- 终端执行完程序没有任何提示,然后程序目录生成了对应文件夹。
[xingli@nekopara ssfconv]$ ./ssfconv -t fcitx5 charge.ssf charge
[xingli@nekopara ssfconv]$
2.文件夹内存在theme.conf
 内部有类似下面的信息就是生成成功了
[Metadata]
Name=33·充电
Version=0.9
Author=阿克娅
Description=欢迎大家使用
ScaleWithDPI=False
[InputPanel]
Font=Sans 16
NormalColor=#0080c0
HighlightCandidateColor=#004080
HighlightColor=#0080c0
HighlightBackgroundColor=#f5fbfb
Spacing=3
复制到用户皮肤目录
mkdir -p ~/.local/share/fcitx5/themes/
cp -r charge  ~/.local/share/fcitx5/themes/
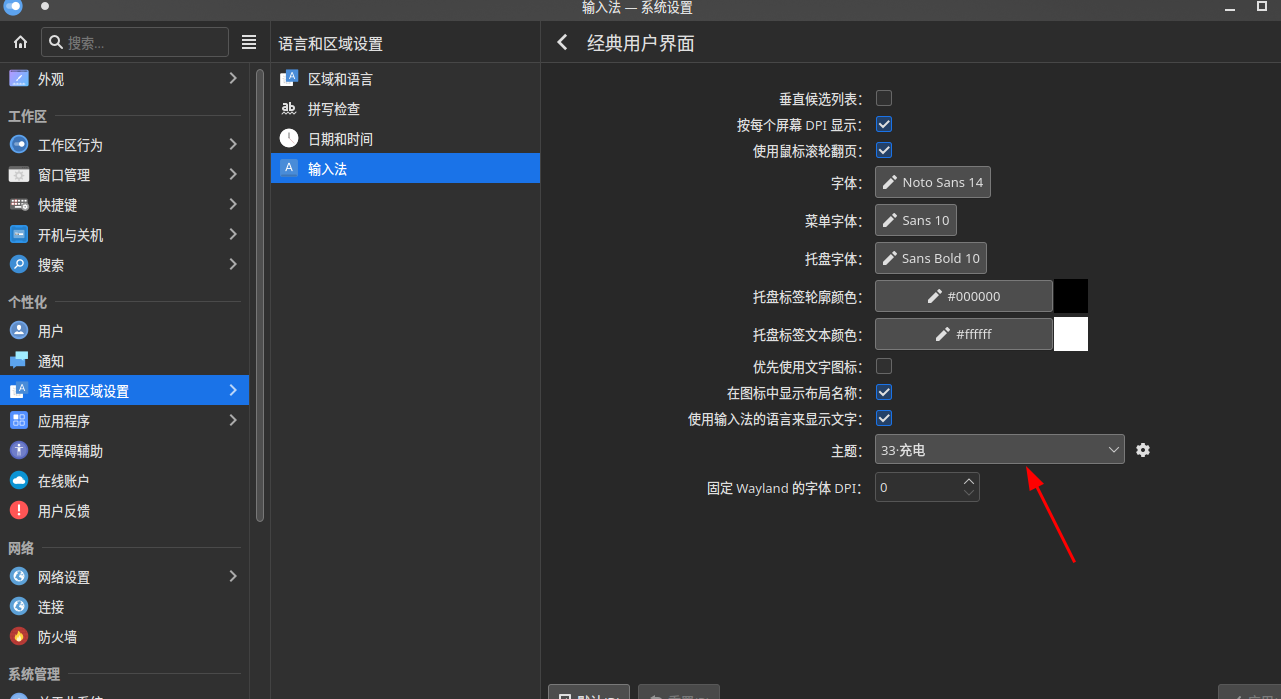
使用该皮肤
打开 fcitx5 的配置,附加组件标签,经典用户界面,点配置,在主题的下拉列表里,选择这款皮肤。
或者你也可以直接修改配置文件 ~/.config/fcitx5/conf/classicui.conf,将 Theme 的值改成这个皮肤的名称即可。
用下面这条命令可以看到该皮肤的名称:
grep Name ~/.local/share/fcitx5/themes/charge/theme.conf
Drag and drop your files here
Loading comments...
Source