最近在测试apk时发现使用常规的手段:导出burp证书->安装证书->wifi设置代理的手段无法抓到https的流量(用proxifier,让安卓模拟器走burp代理也是可以的,但是不想搞),通过搜索引擎得知Android7.0及之后,系统默认只信任系统证书,不再信任用户自己安装的证书,于是在多次尝试使用各类模拟器抓apk中https的报文失败后,还是选择了Android Studio。将证书安装到系统证书中
准备burp证书
1、导出burp证书
2、使用openssl更改证书格式,先将burp证书的der格式转成pem,再获取证书的hash
openssl x509 -inform DER -in burp.der -out burp.pem
openssl x509 -inform PEM -subject_hash_old -in burp.pem
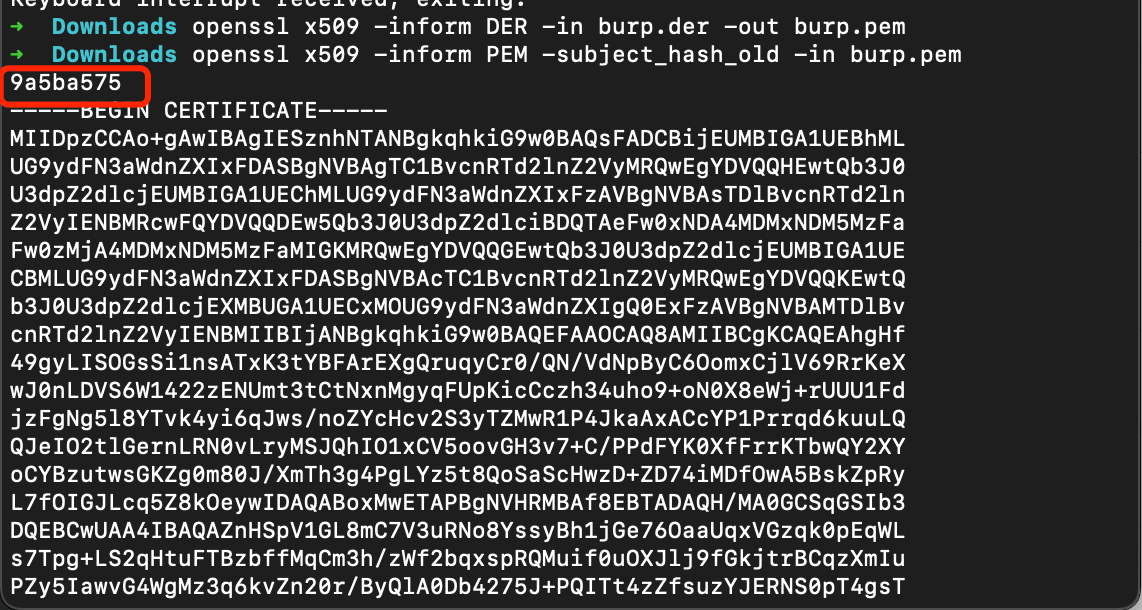
将文件名修改为获取到的hash.0
mv burp.pem 9a5ba575.0
准备模拟器
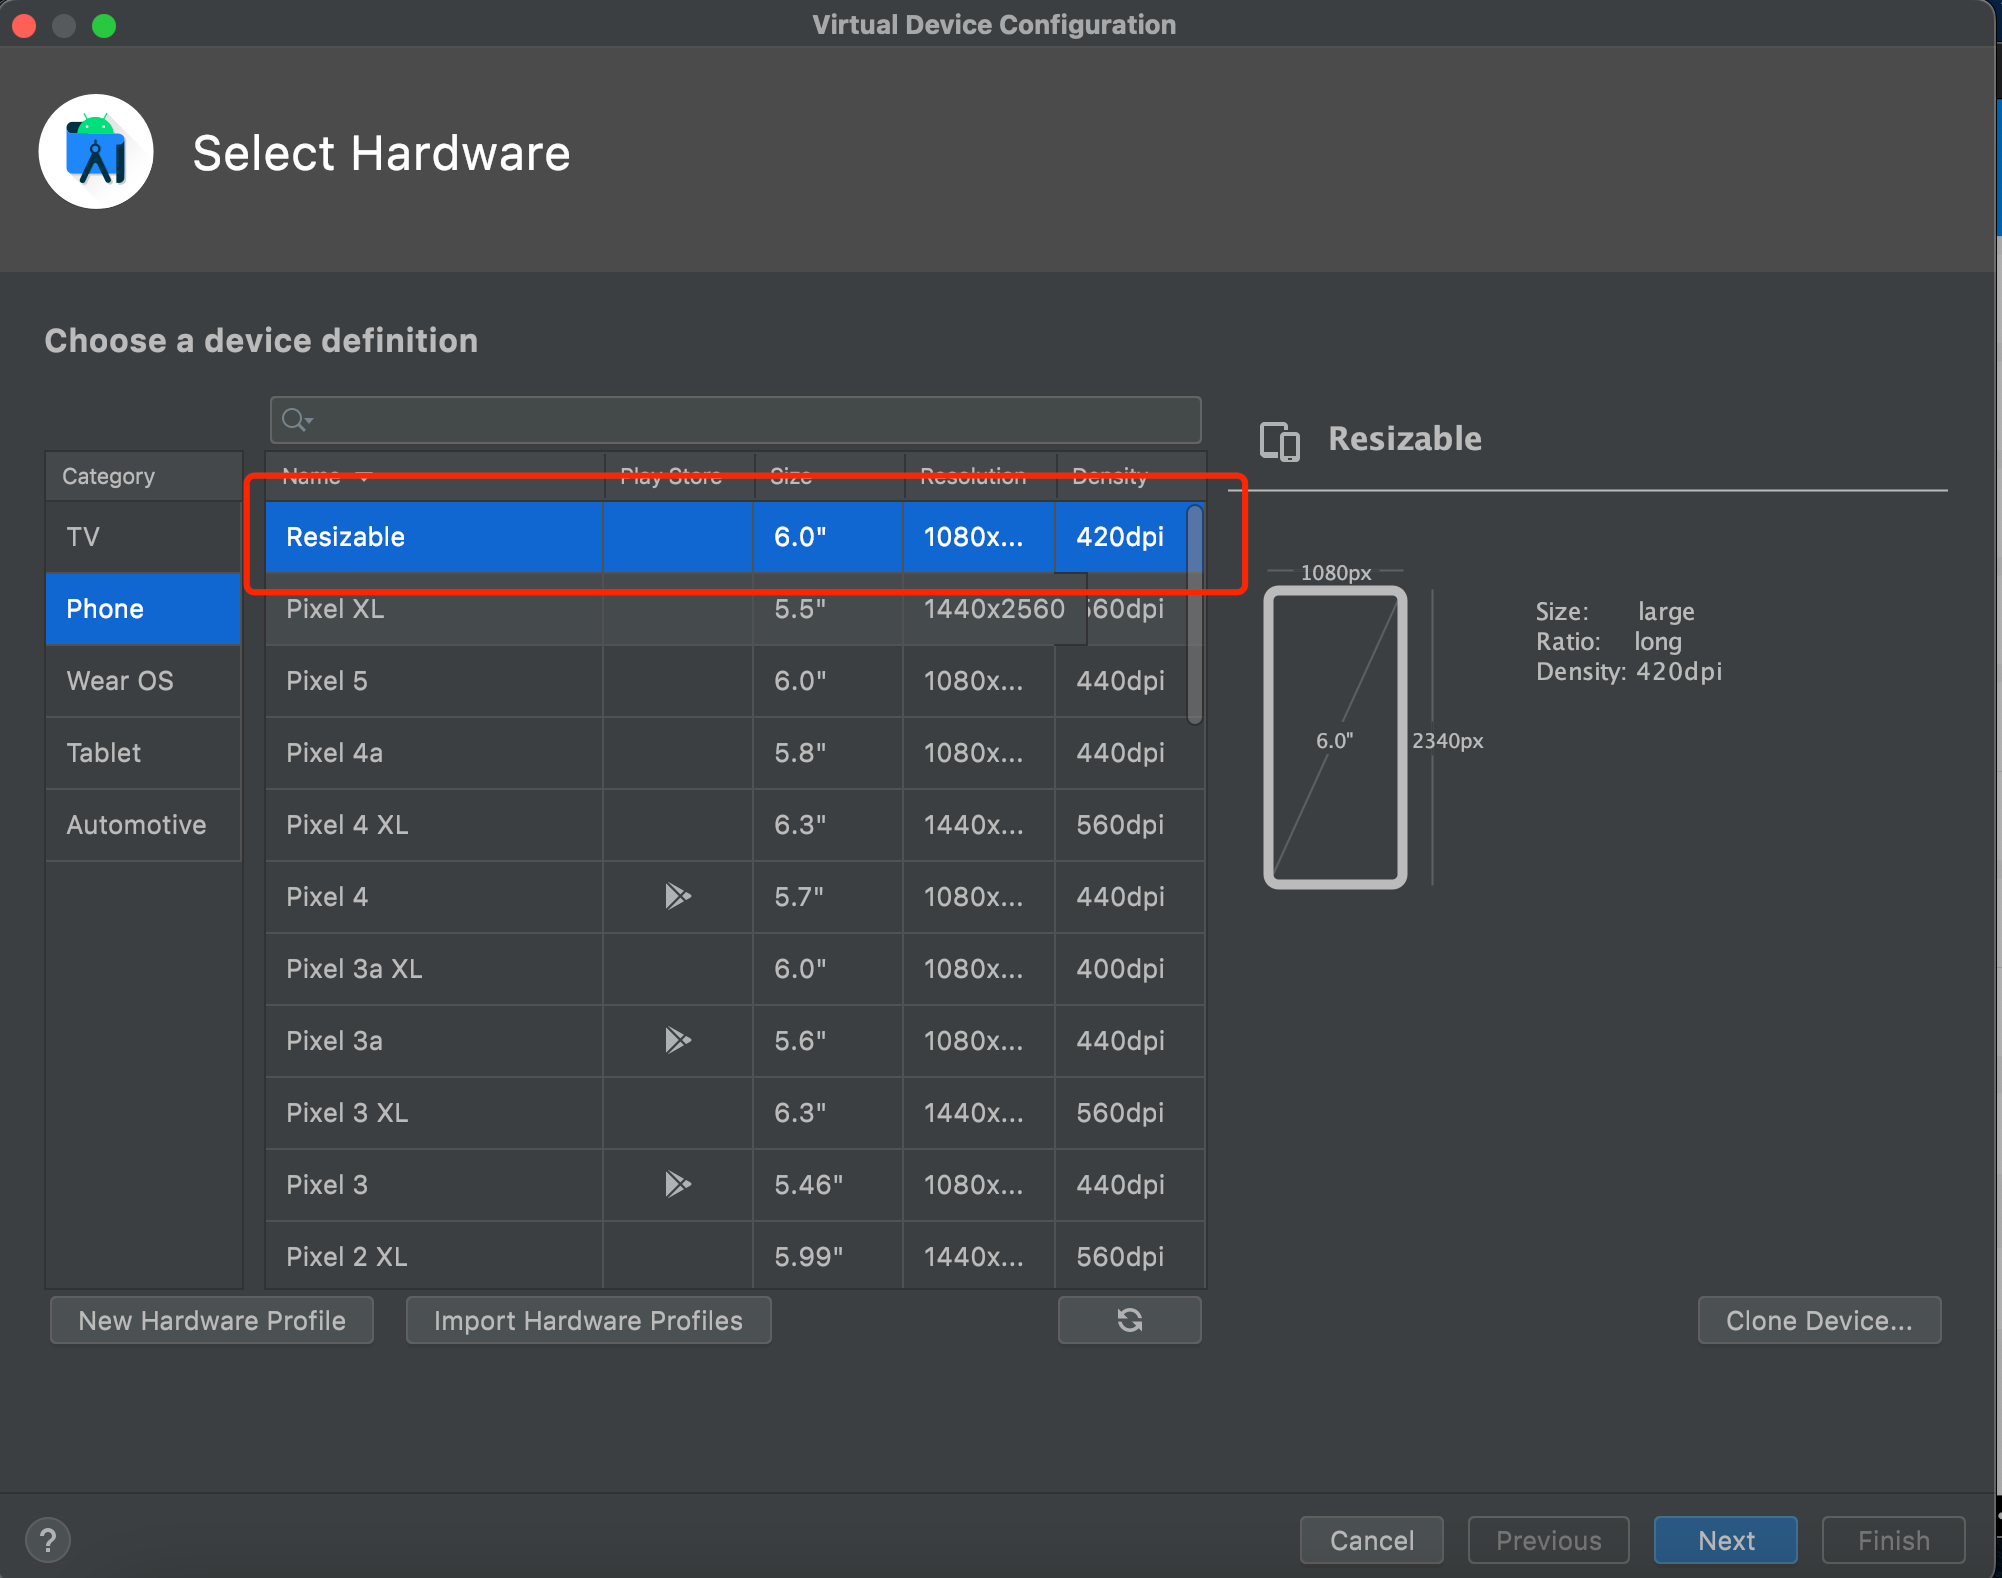
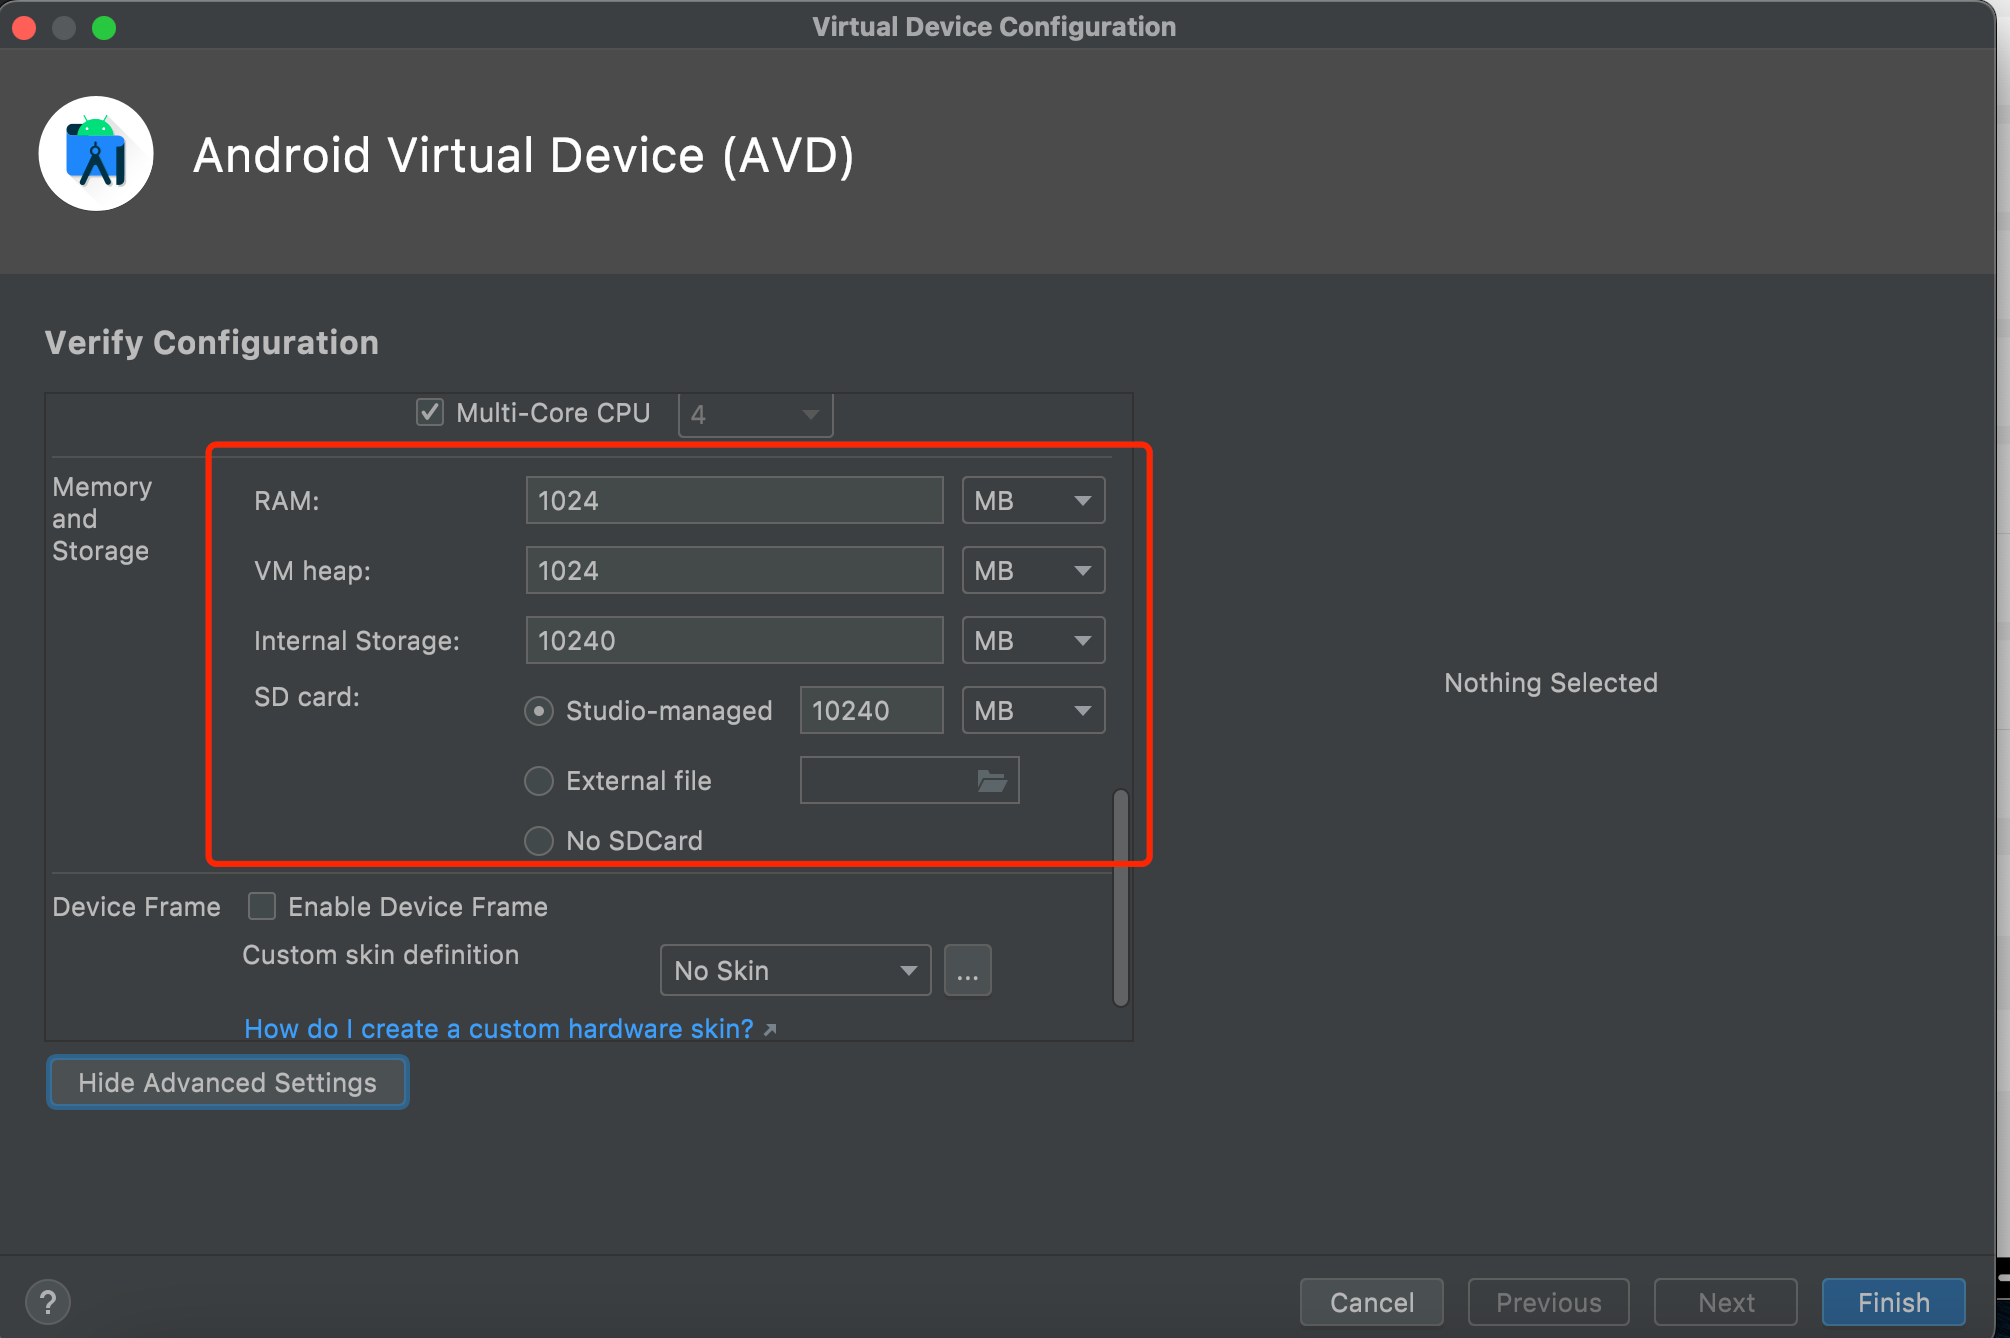
1、打开Andriod Studio,新建一个模拟器,详情见图。
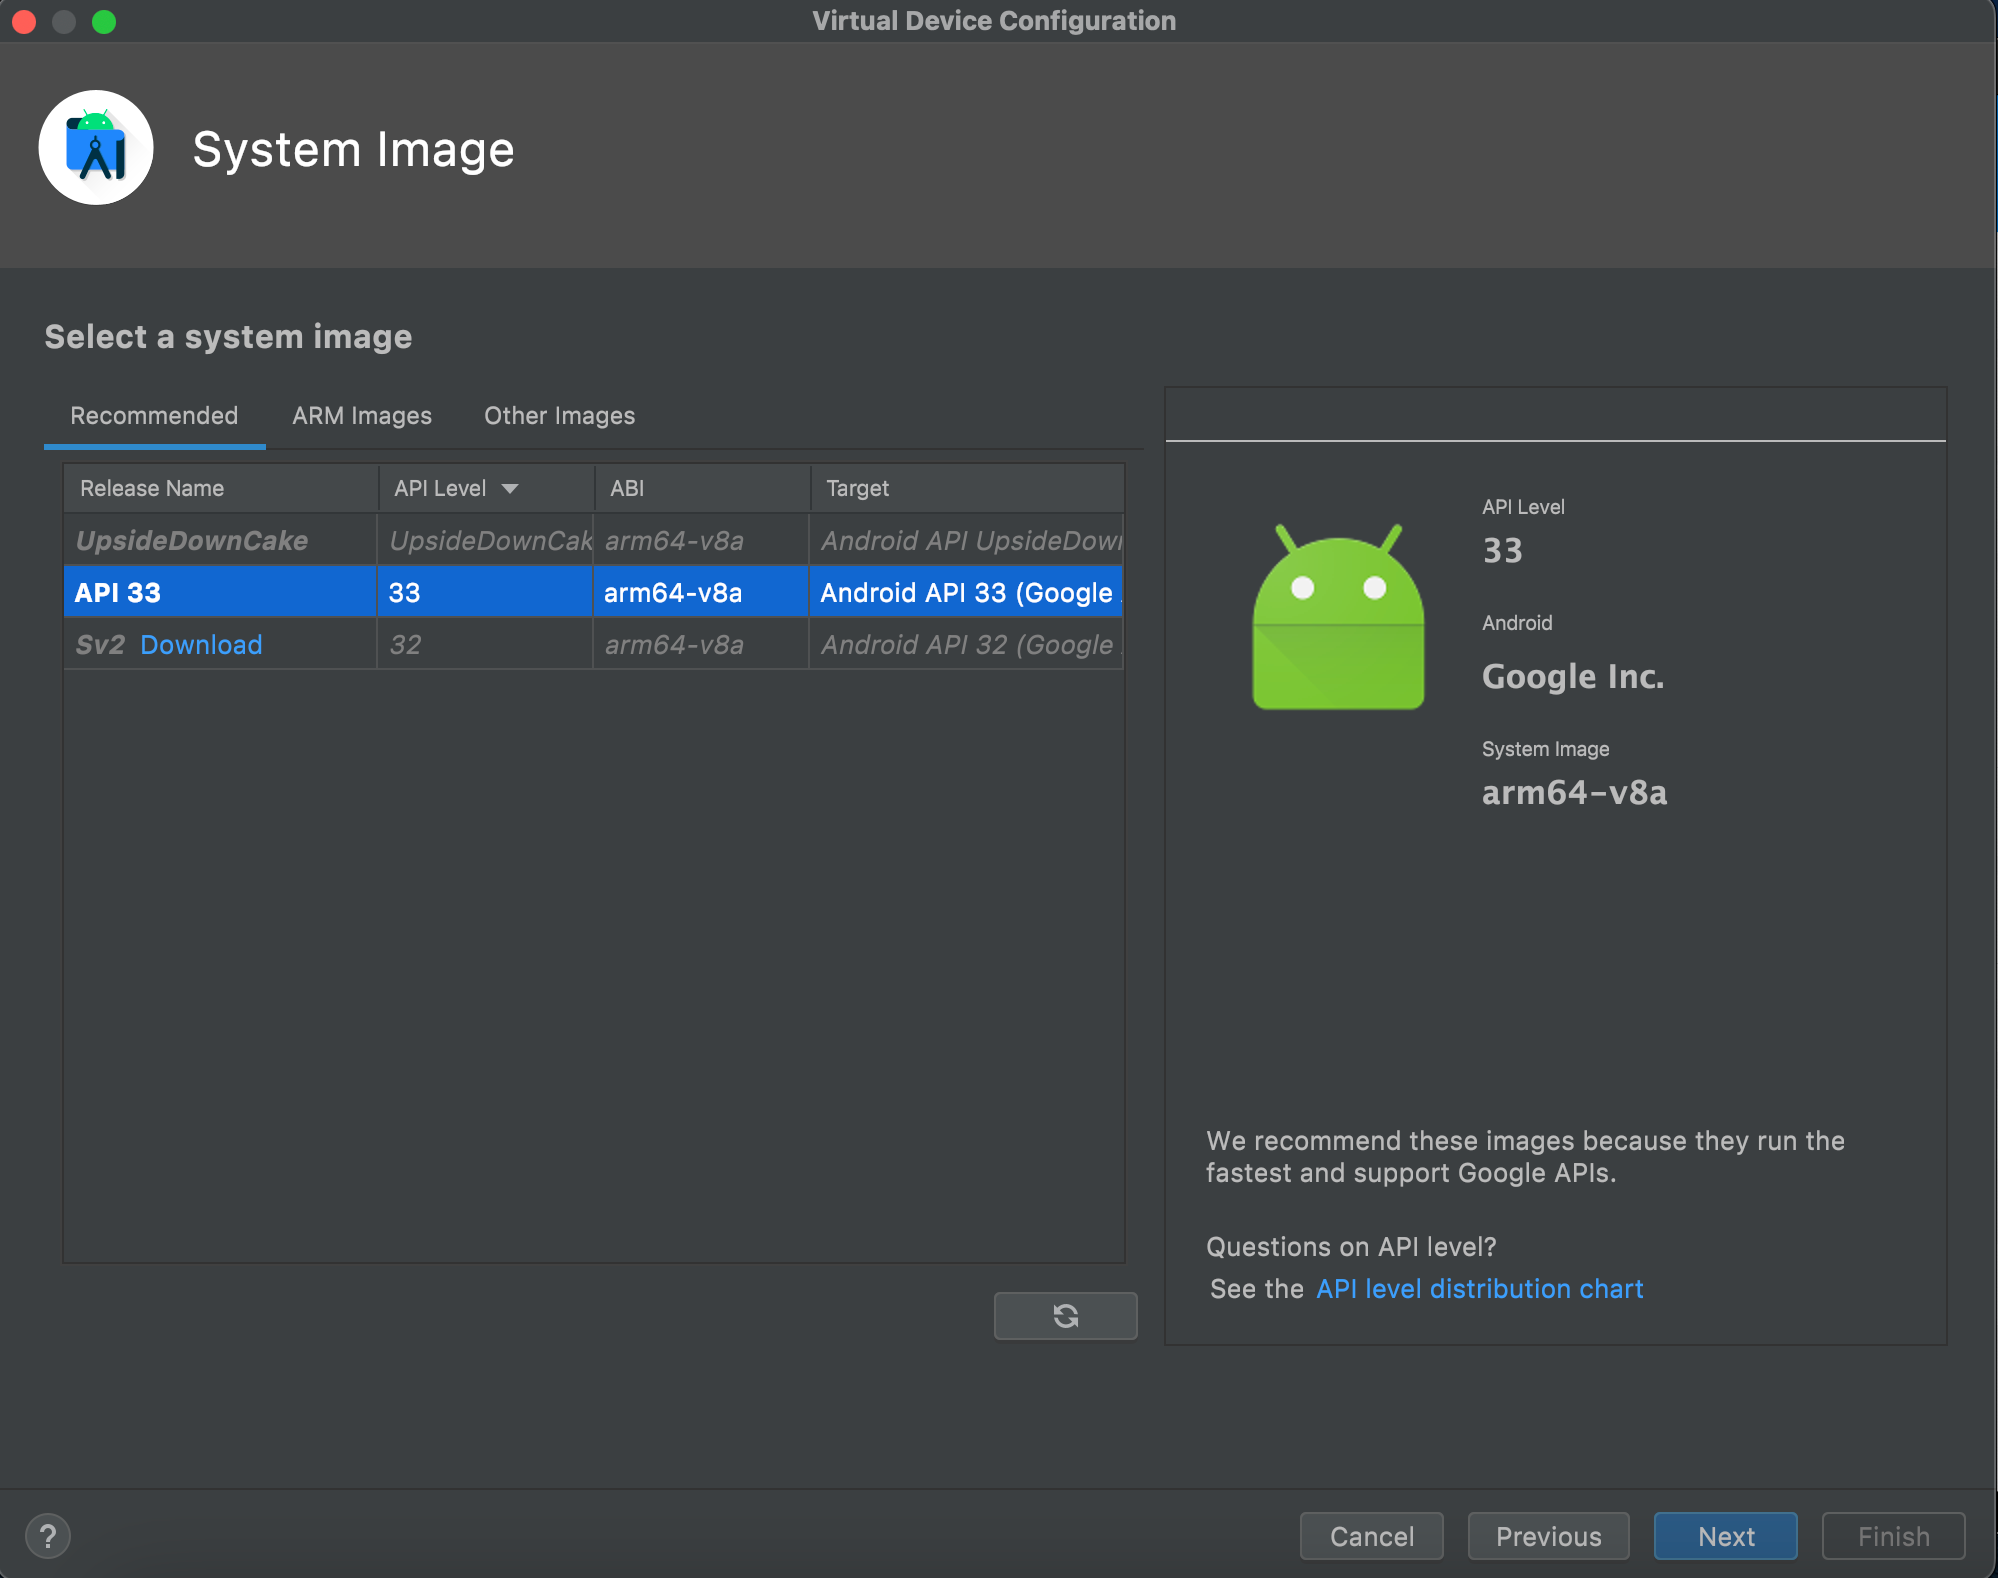
系统镜像可以按需选择
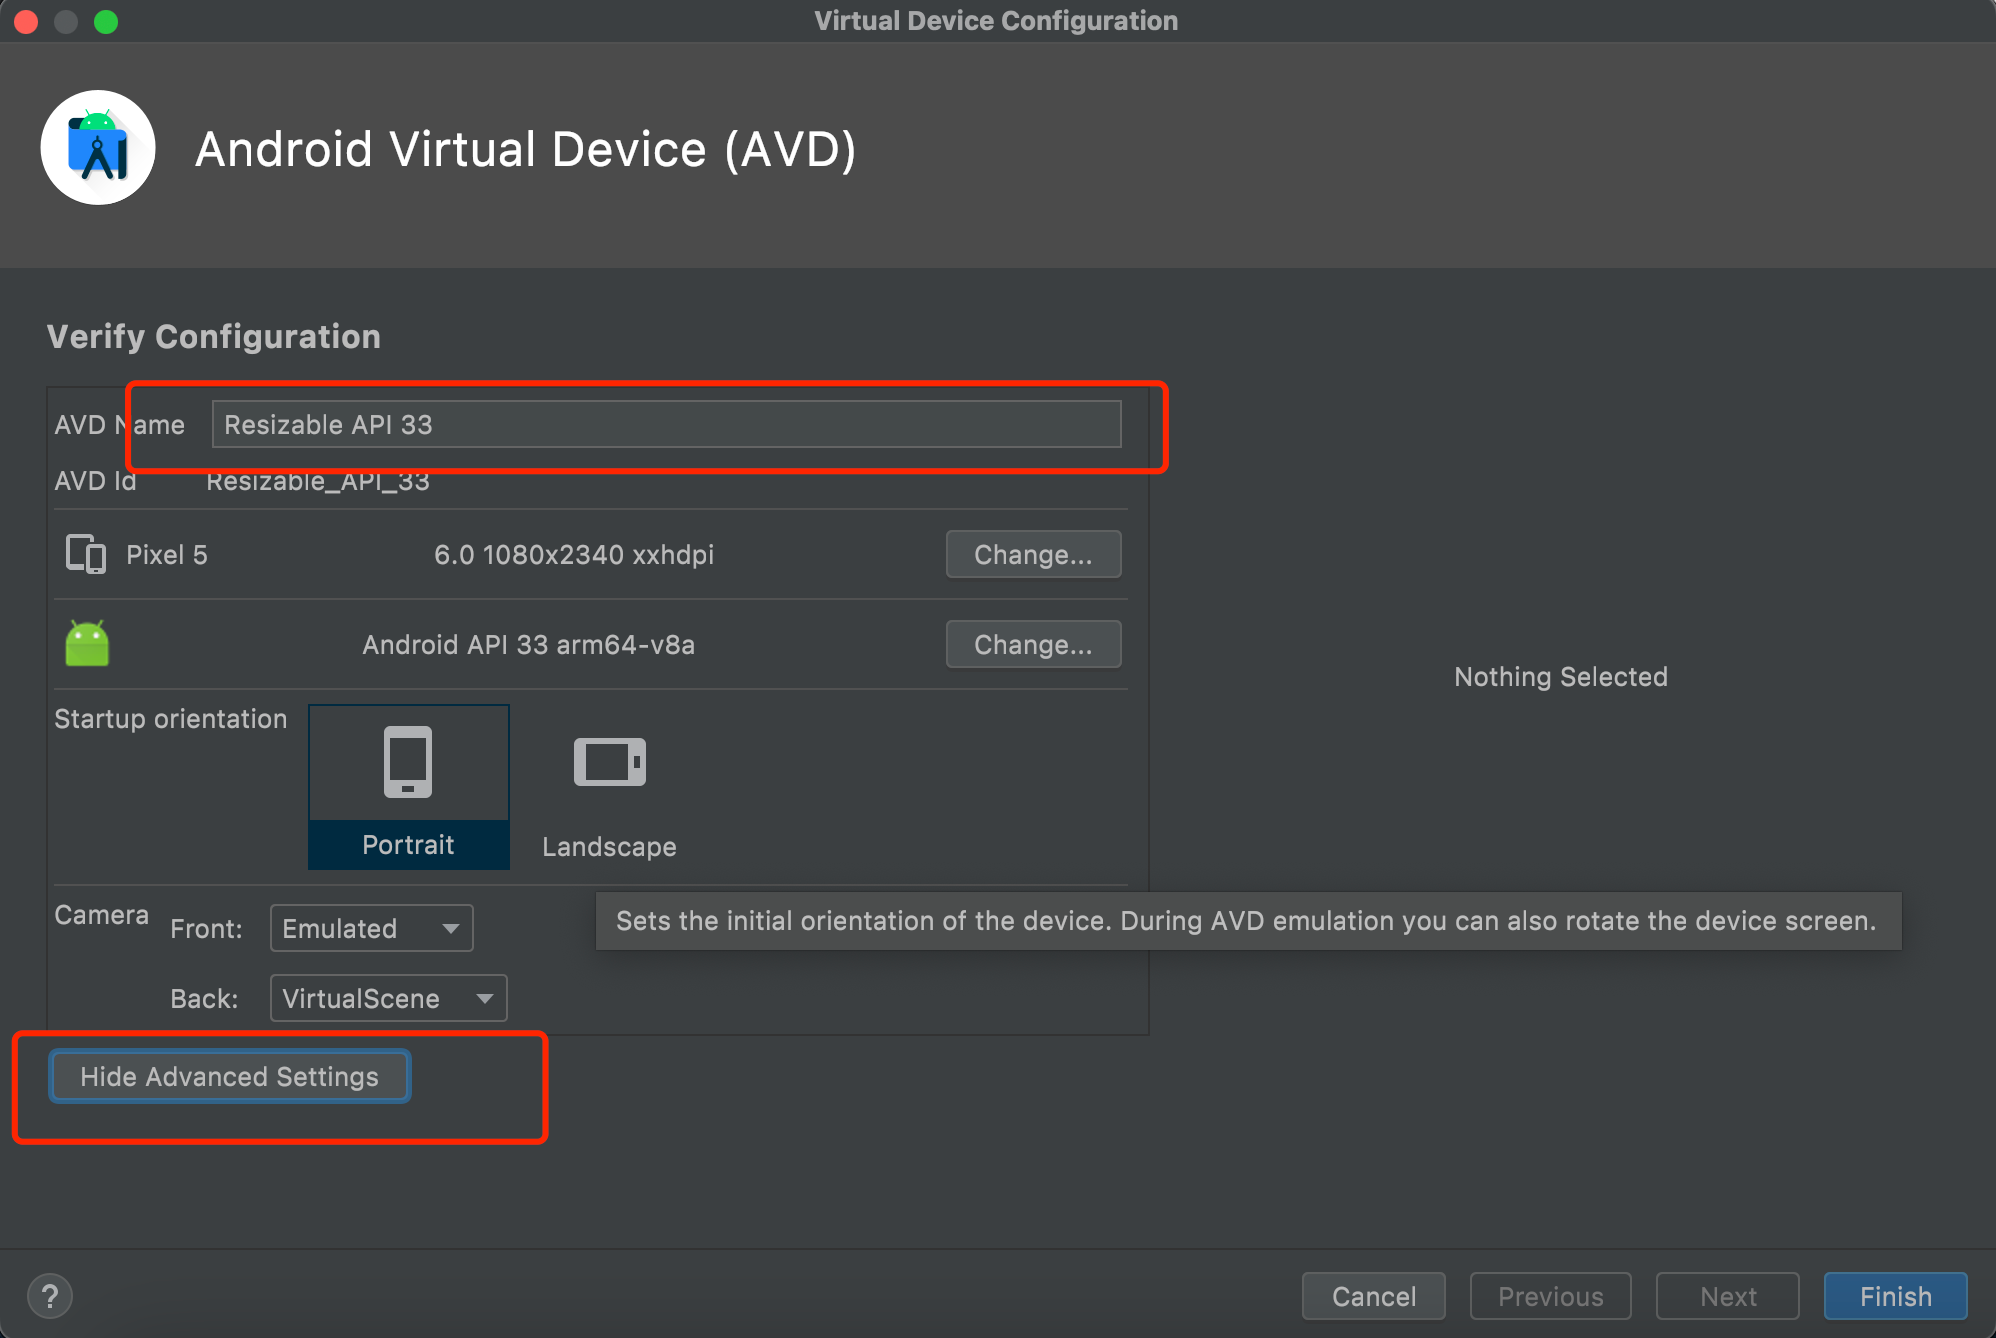
填入模拟器的名字,设置模拟器的存储大小,给多点,免得安装空间不够用。
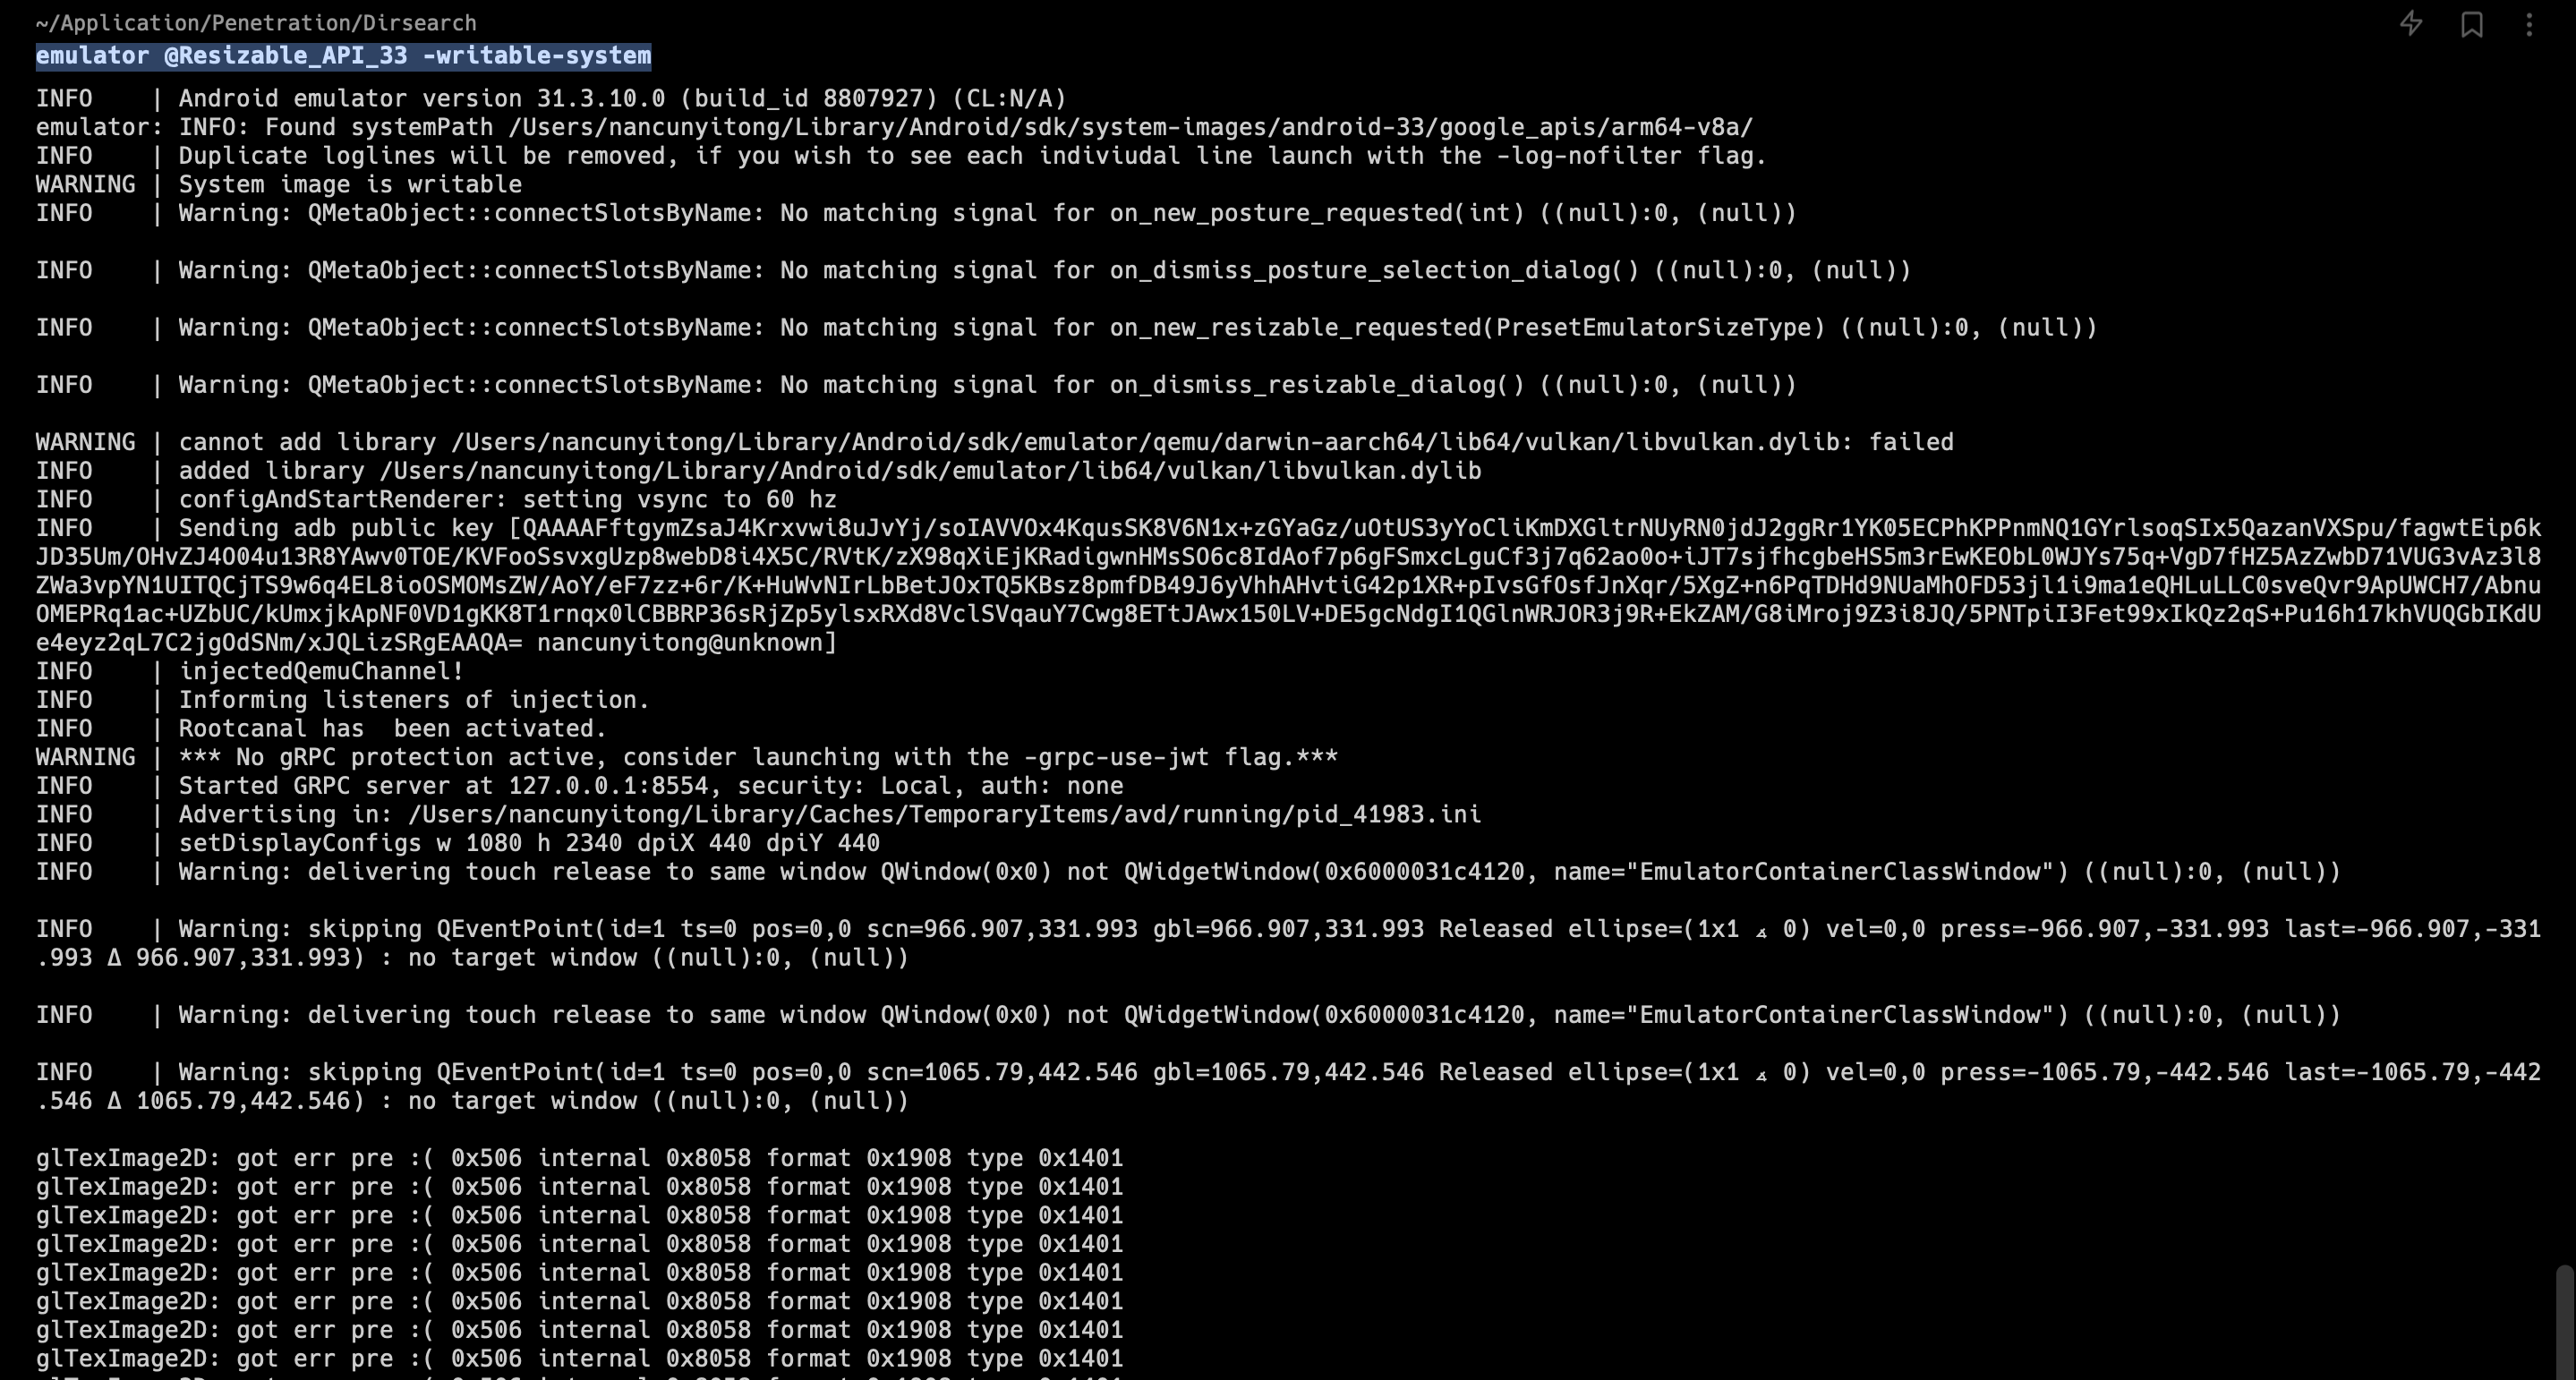
2、使用emulator命令启动模拟器,命令的默认位置在/Users/{{用户名}}/Library/Android/sdk/emulator, 添加-no-snapshot-load 参数保存模拟器状态,否则重启模拟器之后需要重新执行adb root、remount命令然后修改证书权限。
查看所有模拟器   emulator -list-avds
然后启动模拟器   emulator @Resizable_API_33 -writable-system -no-snapshot-load

上传证书
1、使用adb 命令重新挂载分区,使system可读写
adb root    进入root权限
adb disable-verity    关闭分区检测功能
adb reboot    重启设备
adb remount    重新挂载分区,使system分区可读可写


2、上传证书
adb push 9a5ba575.0 /sdcard    上传证书至/sdcard目录
adb shell    进入系统,此时可以使用whoami查看是否为root用户
cp /sdcard/9a5ba575.0 /system/etc/security/cacerts/    进入系统后将证书复制到系统证书目录下
chmod 644 /system/etc/security/cacerts/9a5ba575.0    修改证书权限

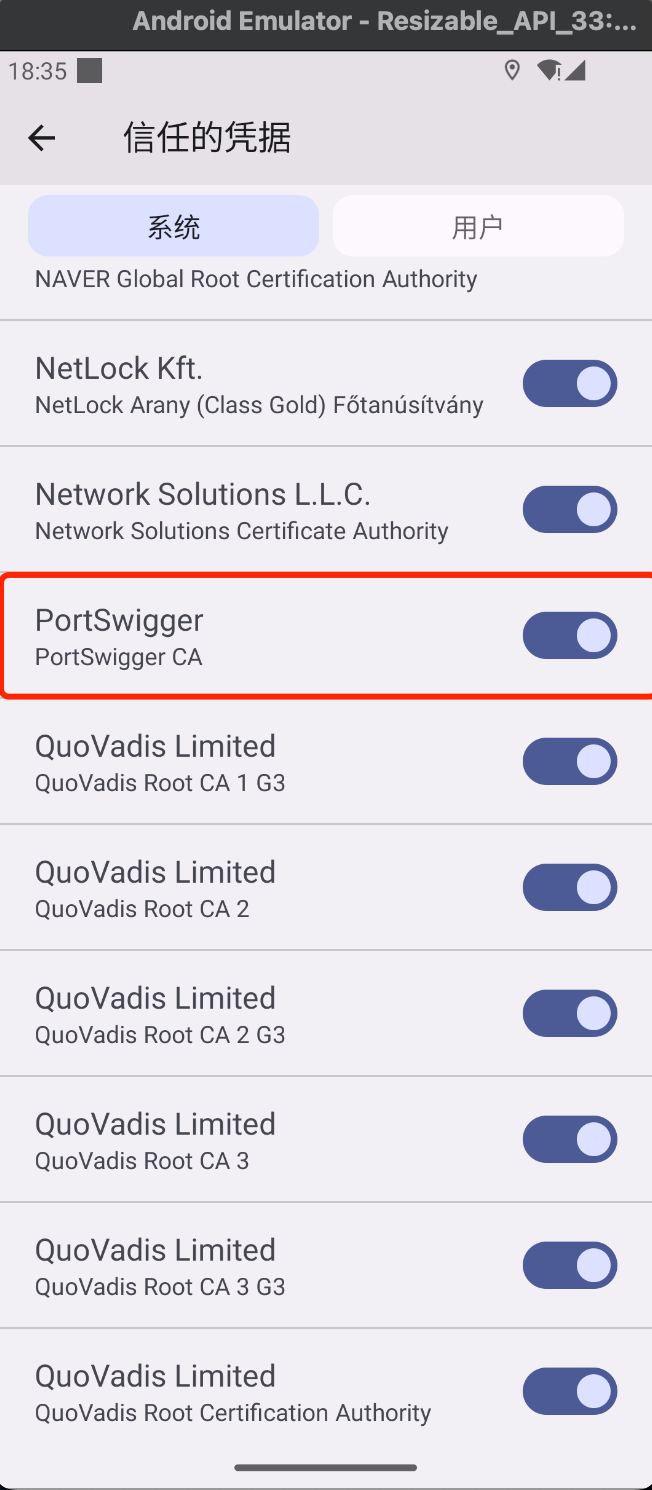
3、查看证书是否安装成功
操作模拟器界面,进入设置(setting) --> 安全(security) --> 更多安全设置(more security settings) --> 加密与凭据(encryption & credentials) --> 信任的凭据(trusted credentials)
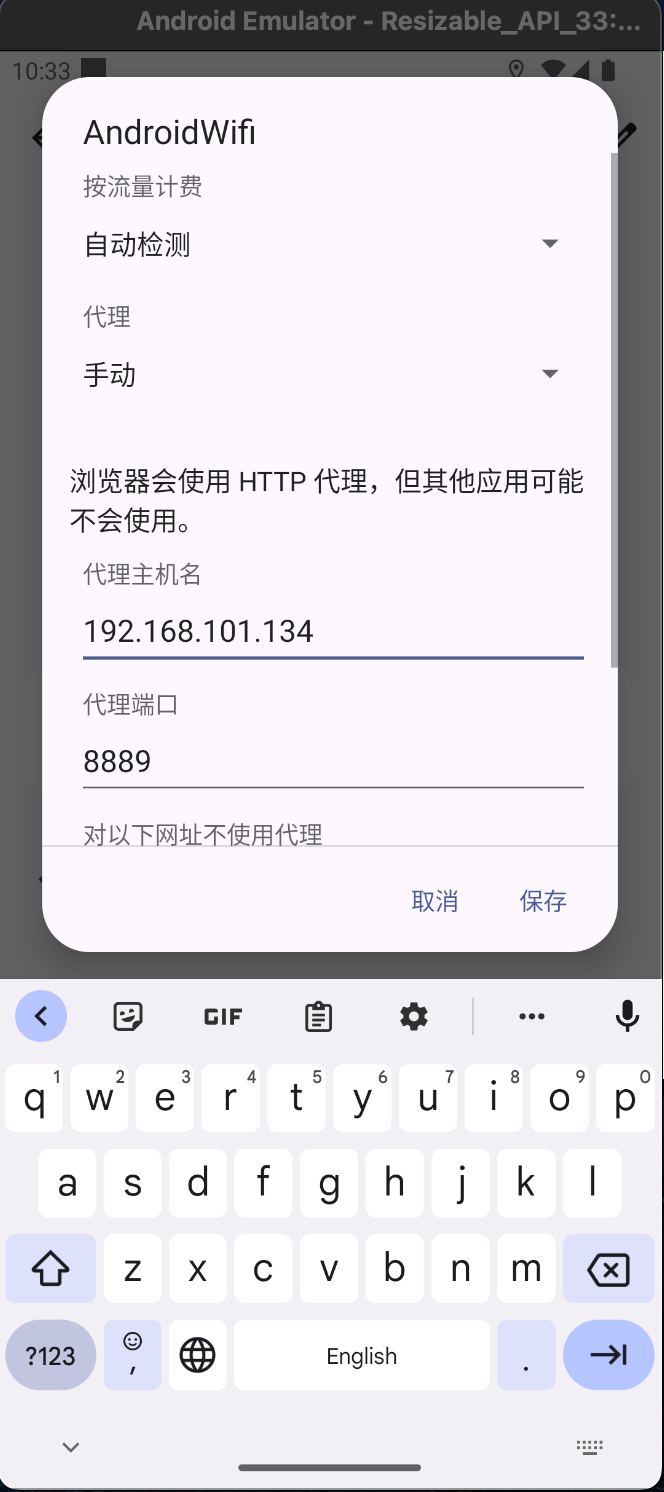
配置WIFI代理

成功抓包

参考文章
https://www.freebuf.com/articles/system/347725.html
https://developer.android.com/studio/run/emulator-commandline?hl=zh-cn#startup-options
https://developer.android.com/studio/command-line/adb?hl=zh-cn
https://juejin.cn/post/6844903645289398280
https://android.stackexchange.com/questions/232234/why-adb-remount-retruns-remount-failed-on-android-emulator